
How to DIY your own Yeast Feeders
We ship a small bottle of autoclaved media to feed yeast pitch for every order. Below we'll detail how you can make your own yeast feeders with wort from your kettle.
Yeast management is one of the biggest challenges brewers face when working to repitch yeast over numerous generations. There's much more involved than simply "throwing in a new brick," but the benefits of committing to liquid yeast pitches are numerous, both in the short and long term. Harvesting and repitching yeast is easy when you're constantly brewing, but if you're managing several strains at once and anticipate several weeks between using each strain, you'll need to properly harvest, store, and likely feed that yeast to maintain viability.
We discussed making your own feeder in another article for same day use. Below we'll detail the sterile method for making your own yeast feeder. If properly prepared, these autoclaved feeders can last several weeks, if not longer.
Items required will include;
1. 3piece ball jar or pyrex jar with a threaded cap. https://tinyurl.com/3v35x8k9 or https://tinyurl.com/4ddy3zd6
2. Basic pressure cooker or autoclave. A homeowners 6qt pressure cooker from amazon is sufficient and can cost as little as $75.
3. autoclave tape to ensure you reached the appropriate sterilization temperature. https://tinyurl.com/ynexn55d
4. boiled wort, pulled directly from the kettle.
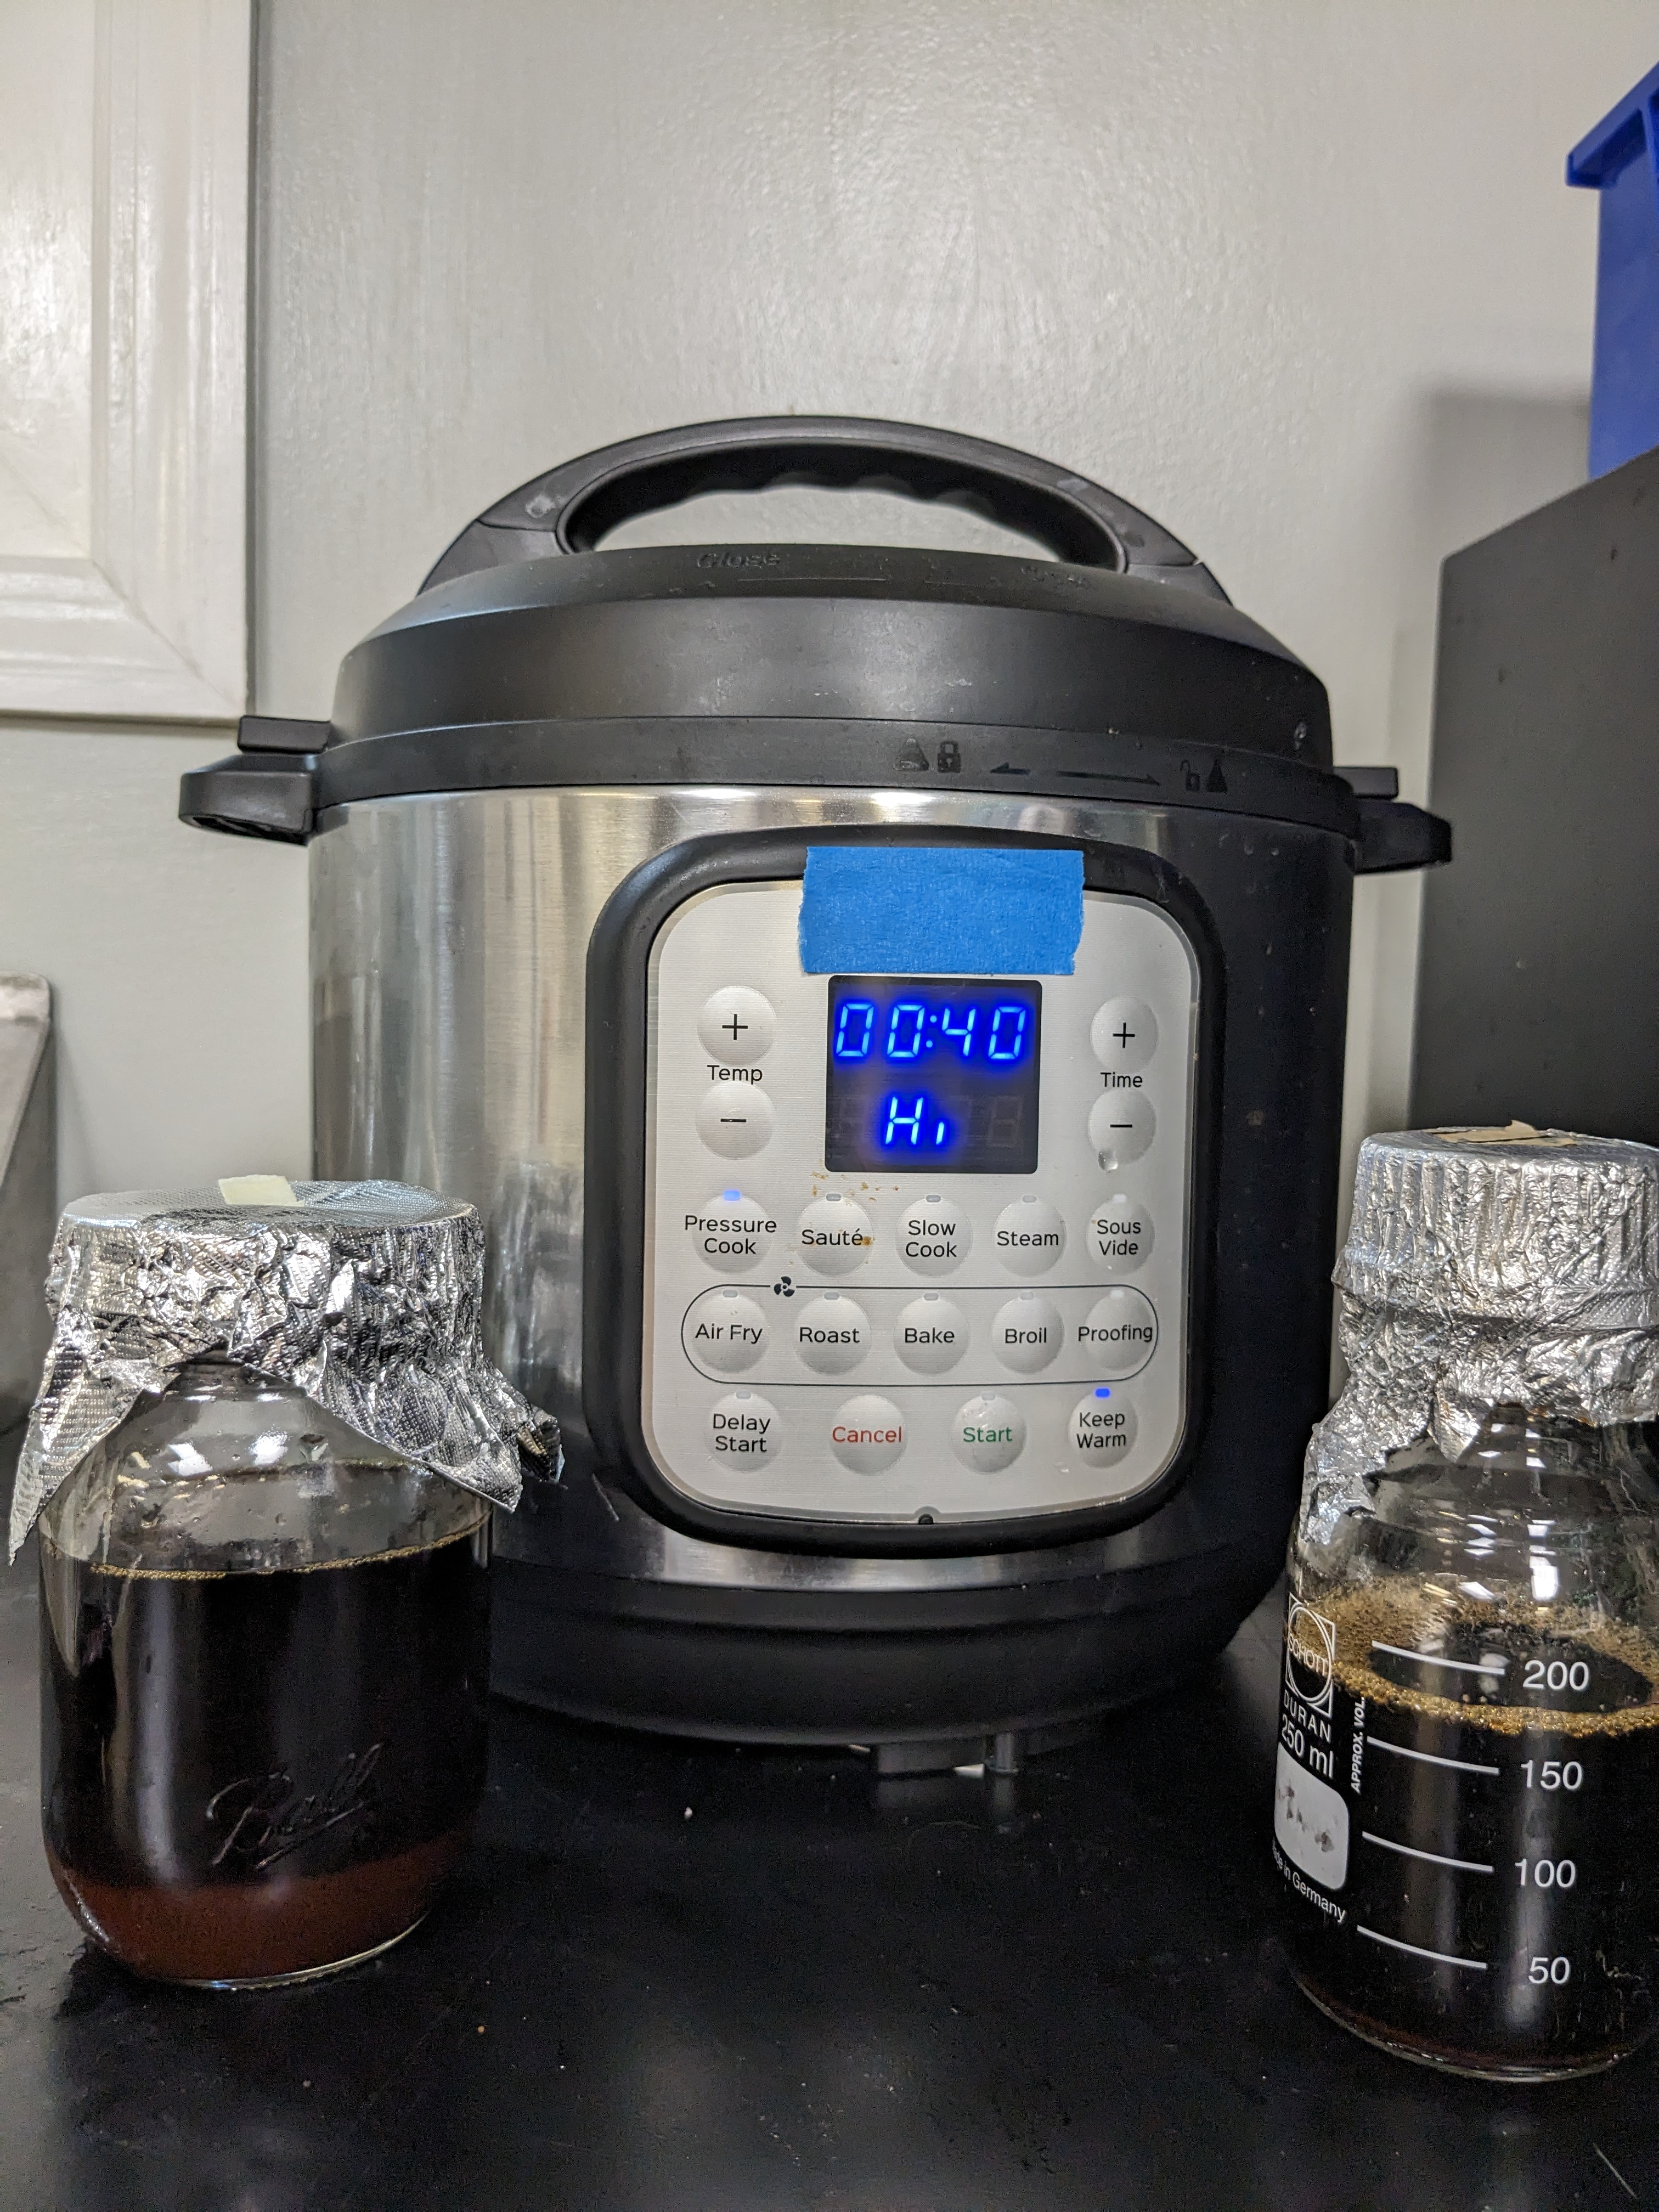
Pull a sample of wort directly from your kettle on a brew day after you've achieved a rolling boil for at least 20 minutes. Immediately fill your mason jars with the boiled wort. If it's a 1liter jar, fill to the 750mL level. This will prevent the container from boiling over in the autoclave/pressure cooker. Place the lid on the jar but leave it very loose to allow steam/pressure to escape the jar while cooking. Cover the jar with a small piece of aluminum foil. Put a small piece of autoclave tape on the aluminum covered lid.
Follow the instructions for setting up and filling the pressure cooker with the appropriate amount of water. Place the wort jars in the cooker and set the pressure to "high" if it's a homeowner model without a pressure gauge. The highest setting will reach a minimum of 121C and higher, which is the floor of sterilization temperatures. Set the cook time for 40minutes. Liquids take much longer to sterilize than dry goods. This is why it's best to quickly fill the jars with hot, boiled media. If the jars don't cook under pressure long enough, there's a risk you only heated up the liquid closest to the glass in the jar, but not the center of the liquid, furthest away from the heat source. Once the cycle is complete, let the wort cool without quickly reducing the pressure. This will prevent the jars from suddenly boiling over with the pressure drop. You can turn off the unit and let it cool over several hours, or overnight without issue.
The autoclave tape should have changed color to indicate the sterilization temperature was met. Tighten the lids for storage or use immediately.
That's it! You've now made sterile yeast feeders for your liquid yeast in storage. Remember, any day you're brewing, you also have the ability to feed your yeast. Autoclaved feeders are a great way to prep in advance and give you a little flexibility with feeding.
We discussed making your own feeder in another article for same day use. Below we'll detail the sterile method for making your own yeast feeder. If properly prepared, these autoclaved feeders can last several weeks, if not longer.
Items required will include;
1. 3piece ball jar or pyrex jar with a threaded cap. https://tinyurl.com/3v35x8k9 or https://tinyurl.com/4ddy3zd6
2. Basic pressure cooker or autoclave. A homeowners 6qt pressure cooker from amazon is sufficient and can cost as little as $75.
3. autoclave tape to ensure you reached the appropriate sterilization temperature. https://tinyurl.com/ynexn55d
4. boiled wort, pulled directly from the kettle.
Pull a sample of wort directly from your kettle on a brew day after you've achieved a rolling boil for at least 20 minutes. Immediately fill your mason jars with the boiled wort. If it's a 1liter jar, fill to the 750mL level. This will prevent the container from boiling over in the autoclave/pressure cooker. Place the lid on the jar but leave it very loose to allow steam/pressure to escape the jar while cooking. Cover the jar with a small piece of aluminum foil. Put a small piece of autoclave tape on the aluminum covered lid.
Follow the instructions for setting up and filling the pressure cooker with the appropriate amount of water. Place the wort jars in the cooker and set the pressure to "high" if it's a homeowner model without a pressure gauge. The highest setting will reach a minimum of 121C and higher, which is the floor of sterilization temperatures. Set the cook time for 40minutes. Liquids take much longer to sterilize than dry goods. This is why it's best to quickly fill the jars with hot, boiled media. If the jars don't cook under pressure long enough, there's a risk you only heated up the liquid closest to the glass in the jar, but not the center of the liquid, furthest away from the heat source. Once the cycle is complete, let the wort cool without quickly reducing the pressure. This will prevent the jars from suddenly boiling over with the pressure drop. You can turn off the unit and let it cool over several hours, or overnight without issue.
The autoclave tape should have changed color to indicate the sterilization temperature was met. Tighten the lids for storage or use immediately.
That's it! You've now made sterile yeast feeders for your liquid yeast in storage. Remember, any day you're brewing, you also have the ability to feed your yeast. Autoclaved feeders are a great way to prep in advance and give you a little flexibility with feeding.

Stay in the know
Sign up for our newsletter now and hop into the world of brewing excellence.
Related Posts
How to maintain high viability in stored yeast
2023-07-05 22:33:56 UTC
By: Travis Tedrow
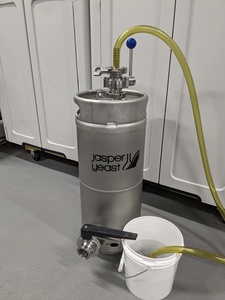
Congrats! You have successfully harvested yeast into your brink. Now we will outline the best practices for feeding and storing your yeast to ensure the highest possible viability.
How to DIY your own Yeast Feeders
2023-08-08 04:17:11 UTC
By: Jasper Akerboom
We ship a small bottle of autoclaved media to feed yeast pitch for every order. Below we'll detail how you can make your own yeast feeders with wort from your kettle.